
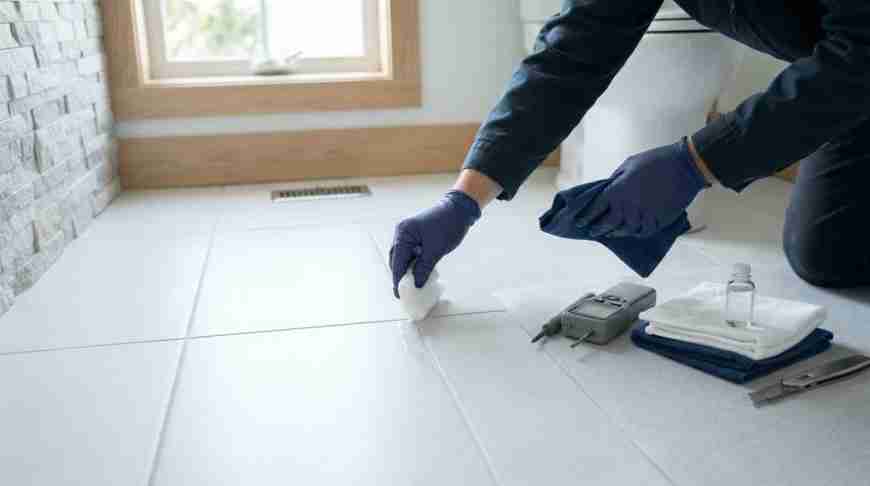
A clean-looking floor isn’t automatically ready to seal. In Victoria, Sidney, Sooke, and Mill Bay, tile, grout, or stone should be sealed only when the material benefits from it and after its condition, previous coatings, and absorbency have been assessed. The surface must be clean, dry, and suitable. Sealer can improve stain resistance in absorbent materials, but it won’t replace waterproofing or repair leaks behind tile.
It’s natural to want lasting protection, especially in rooms where floors face regular moisture and use. Proper preparation matters as much as the sealer itself: the wrong product or application conditions can affect the finish and the result.
This guide explains what to check before cleaning and sealing, how cleaning, preparation, and drying depend on the material, and what professional application can and can’t protect. It also covers planning for ventilation, curing, access, and the floor’s condition.
Key Takeaways
- Identify the tile, grout, and any previous coatings before choosing a sealer; different surfaces absorb and respond to products differently.
- Use sealer only where it is suitable. It can help resist staining in absorbent materials, but it won’t fix damaged grout, cracks, leaks, or failed waterproofing.
- Plan for thorough cleaning and drying before application, then allow ventilation and curing conditions to suit the product.
- Factor in furniture movement, access, adjacent finishes, and safe routes across wet surfaces when preparing for the work.
- Let traffic, moisture, materials, and floor condition guide when cleaning and resealing may be needed again.
Applying professional-grade floor sealer
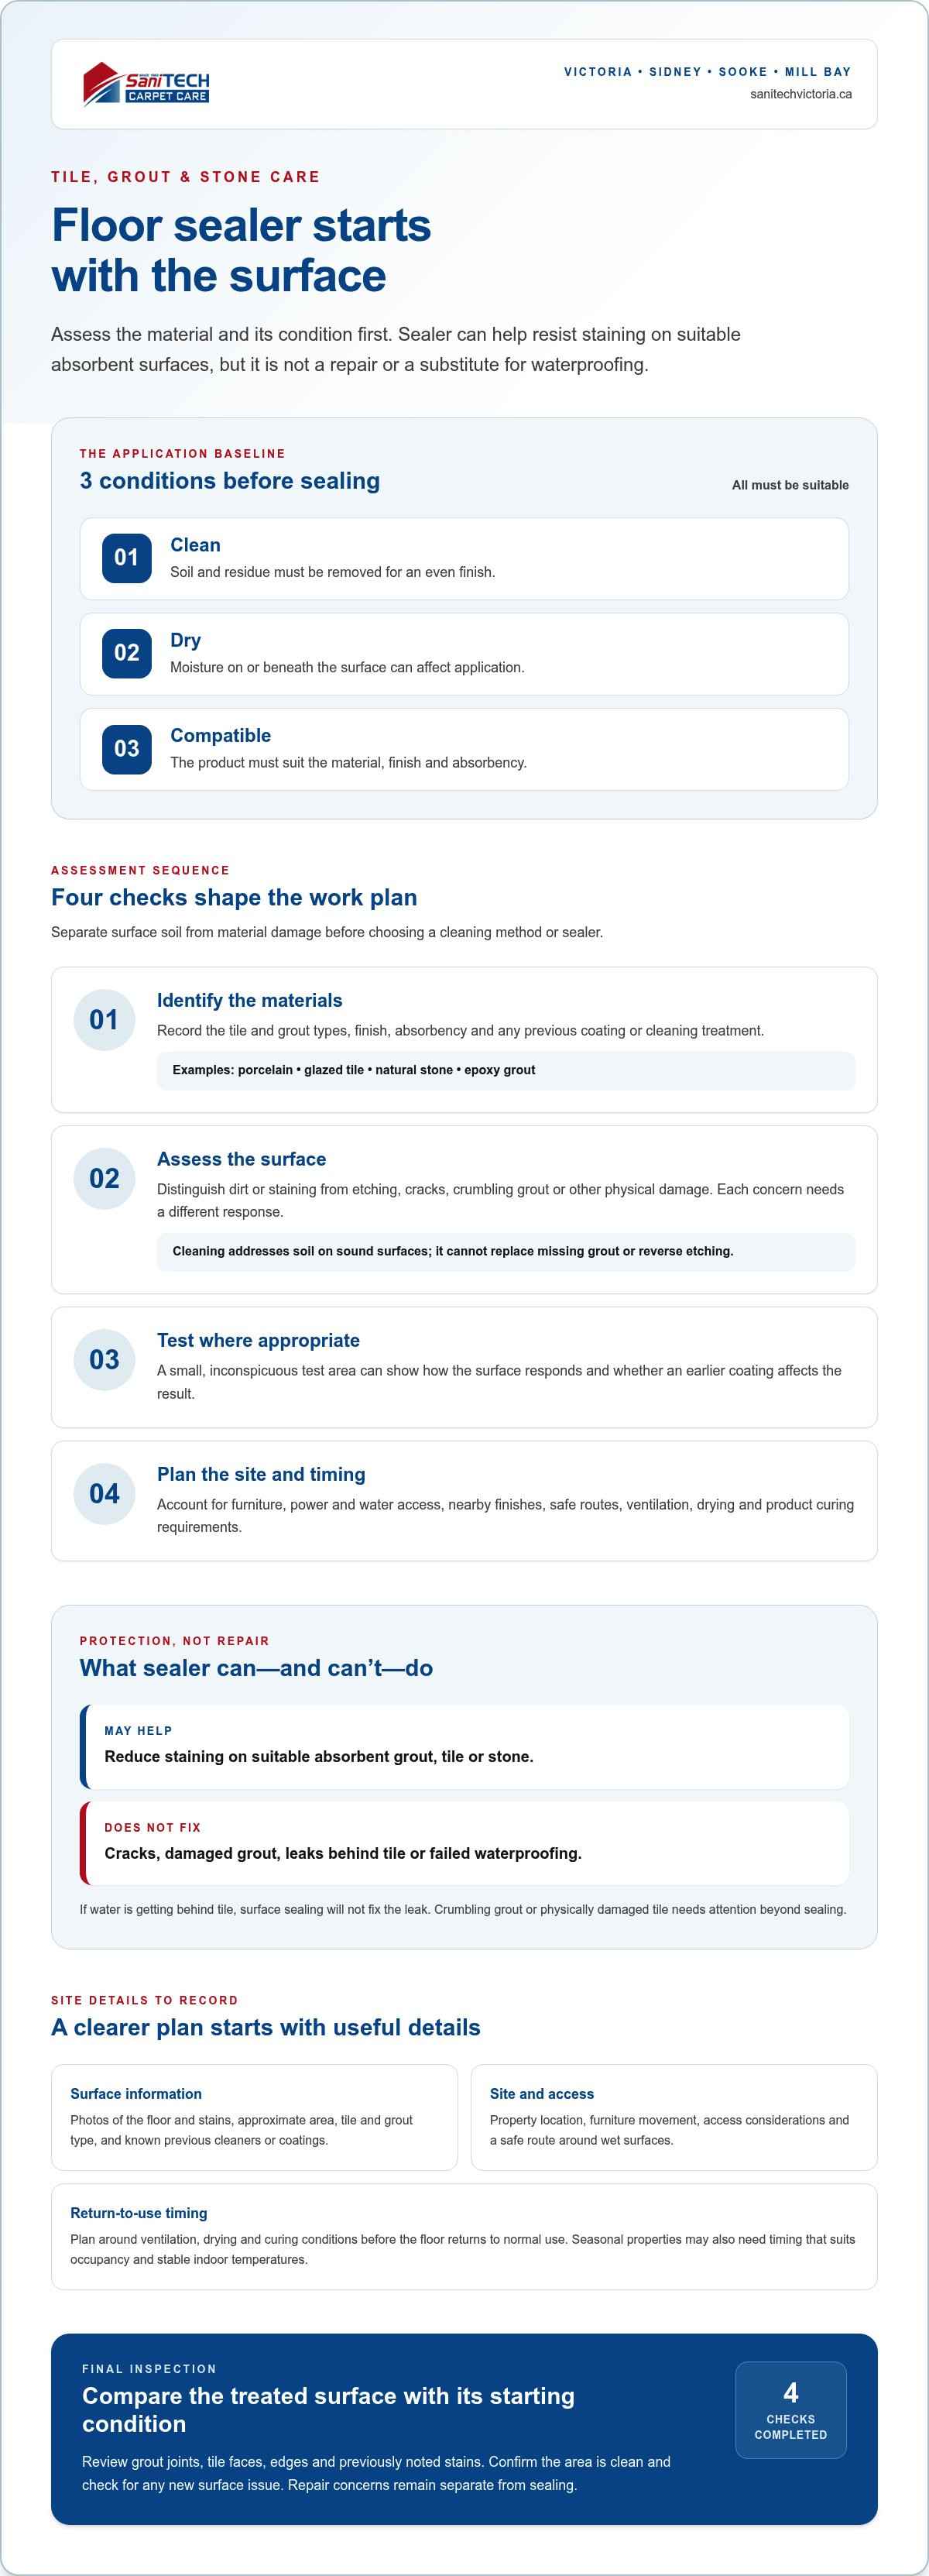
In Victoria, Sidney, Sooke, and Mill Bay, a suitable sealer can help reduce staining on absorbent grout, tile, or stone. It’s a protective surface treatment, not a substitute for the waterproofing beneath a floor or wall. If water is getting behind tile, sealing the surface won’t fix the leak. First, determine whether the material benefits from sealer at all.
Preparation comes before application. The floor must be clean, dry, and compatible with the selected product. Leftover soil can prevent an even finish, while moisture on or beneath the surface can affect application. A product made for one material or finish may not suit another, so assess the surface before choosing a sealer.
For tile sealing in Victoria and nearby communities, plan around ventilation, drying, and the product’s curing requirements. The conditions must be suitable before normal use resumes. Seasonal properties need additional timing considerations: occupancy dates and the ability to maintain stable indoor temperatures during application and curing can affect the work plan.
Plan practical access before treating the floor. Consider moving furniture, arranging water and power access, protecting adjacent finishes, and maintaining a safe route around wet surfaces. A narrow entryway, for example, may need a different access plan from an open kitchen so residents can continue moving safely through the home.
During application, follow the product instructions for how to spread and handle the sealer. Professional application isn’t a one-size-fits-all process. The technician considers the material, finish, absorbency, and prepared surface, then applies a suitable product according to its directions. Any required drying or curing time must fit the household’s plans for using the floor again.
- Before application: confirm the material and grout type, and ensure cleaning has removed soil and residue.
- At the site: keep furniture, power and water access, nearby finishes, and safe movement routes in the plan.
- After application: allow conditions for ventilation, drying, and curing before returning the area to normal use.
Expect protection, not repair. Sealer may improve stain resistance on a suitable absorbent surface, but it won’t fix cracks, damaged grout, leaks, or failed waterproofing. Crumbling grout or physically damaged tile needs attention beyond surface sealing. Clear expectations help homeowners in Victoria, Sidney, Sooke, and Mill Bay protect sound surfaces without mistaking a coating for a structural repair.
Choose a sealer that suits the specific material and finish, based on an assessment of the surface.
Floor assessment, preparation, and final inspection
A sound plan for a floor in Victoria, Sidney, Sooke, or Mill Bay starts by identifying its materials. Porcelain, glazed tile, natural stone, and epoxy grout have different care requirements. Finish and absorbency also affect whether sealer is appropriate. Note the tile and grout types, then consider previous coatings or cleaning treatments that could affect the next steps.
Next, inspect the surface to tell soil from damage. A kitchen floor may have greasy residue in its grout joints, while pale stone tile may show etching or mineral stains. These issues need different responses. Clean sound surfaces to address dirt and residue; crumbling, missing, or otherwise damaged grout may need repair or replacement.
Before choosing a cleaning method or sealer, test a small area where appropriate. This helps show how the surface responds and whether an earlier coating affects the result. For example, a test patch on an inconspicuous tile can reveal whether cleaning changes its finish. Choose the product and process to suit the material, finish, and observed soil, rather than relying on appearance alone.
A site review should identify the specific concern: dirt, staining, etching, or physical damage. Note where it occurs, such as staining near a kitchen sink or worn grout along a doorway. This distinction sets realistic expectations. Cleaning removes soil from sound surfaces; it can’t reverse etching or replace missing grout.
For a project estimate, useful details include photos of the floor and stains, the approximate area, and the property’s location in Victoria, Sidney, Sooke, or Mill Bay. Include the tile and grout type, any known previous cleaners or coatings, access considerations, and preferred timing for using the floor again. These details help shape the preparation and work plan before the appointment.
- Identify: Record the tile, grout, finish, and any previous coating.
- Assess: Separate dirt and staining from etching, cracks, or damaged grout.
- Test: Check a small area where appropriate before proceeding across the floor.
- Plan: Share photographs, approximate area, location, access, and timing needs.
A final inspection compares the treated surface with its condition before work. Review visible grout joints, tile faces, edges, and previously noted stains. Confirm that the area is clean and no new surface issue appeared during the process. Damaged grout or physical tile problems are repair concerns, not issues sealer can resolve. A clear assessment helps local property owners decide what work the floor needs.
Sealing ceramic and porcelain tile
Across Victoria, Sidney, Sooke, and Mill Bay, seal only ceramic, porcelain, grout, or natural stone that benefits from a compatible product. Follow the product directions and applicable environmental handling requirements; no single sealer or disposal method suits every surface and site.
Sealer choices by tile type
Glazed ceramic and porcelain tile faces are often less absorbent than their grout joints. The grout may benefit from a suitable sealer even when the tile face doesn’t. Natural stone varies by type and finish, so its absorbency and care needs matter. Identify the surface and grout, review previous coatings, and test a small area where appropriate before choosing a product.
Choose by material, not by the broad label “tile sealer.” A product suitable for absorbent grout may not suit a glazed tile face or a particular stone finish. The goal is targeted protection where absorption occurs, without leaving an unsuitable coating on the tile. Follow the product directions for application and use.
Tile and grout resealing frequency
There’s no single reliable resealing interval for every floor in Victoria, Sidney, Sooke, or Mill Bay. The need to reseal depends on the material, grout condition, traffic, moisture exposure, and maintenance. A busy entry with absorbent grout may show changes sooner than a lightly used room. Inspect the surface and follow the sealer’s care directions rather than assuming every floor needs the same schedule.
Watch for changes such as grout absorbing spills more readily or becoming harder to maintain. These signs may prompt an assessment, but staining alone doesn’t mean resealing will solve the problem. Soil, residue, etching, and physical damage can initially look similar. Identify the cause before choosing another cleaning or sealing step.
Product selection and environmental handling are related, but they’re separate considerations. The label explains how to apply the sealer; local disposal guidance may apply to leftover product or cleaning residue. For a Southern Vancouver Island project, plan handling around the product and work process. Don’t pour leftover sealer or cleaning mixtures into drains unless the product directions and applicable local guidance permit it.
Sealing has clear limits. A suitable product can improve stain resistance in absorbent materials, but it can’t repair cracks, failed waterproofing, leaks behind tile, or missing grout. Those conditions call for repair, not another coating. Similarly, cleaning removes soil from sound surfaces; it can’t reverse acid etching on stone or restore damaged tile.
Use a simple decision sequence: identify the tile and grout, determine whether the material benefits from sealing, and choose a compatible product. Then follow its directions for application, ventilation, drying, and curing. Reassess the floor as its use and condition change. This measured approach protects suitable surfaces without treating ceramic, porcelain, natural stone, and grout as identical materials.
Surface preparation and drying
For a tile floor in Victoria, Sidney, Sooke, or Mill Bay, never apply sealer to a wet, dirty, or unsuitable surface. Remove soil and residue, then allow the tile and grout to dry before application. Match the cleaning method to the material, finish, and type of soiling: a process suited to textured tile may not suit polished stone.
Start by removing loose grit from the floor and grout joints. Grit caught under cleaning tools can scratch some finishes, while soil packed into joints may remain visible after treatment. Next, choose a cleaning approach for the specific tile and residue. Greasy kitchen soil, for instance, needs a different response from mineral deposits or a light film.
- Prepare the room: Move items from the work area and protect nearby surfaces from splashes or cleaning residue.
- Clean deliberately: Match the method to tile, finish, grout, and soil rather than applying one process everywhere.
- Remove residue: Clear loosened soil and cleaning solution from the tile face and joints.
- Allow drying: Wait until the surface meets the sealer’s application directions.
- Apply and protect: Follow product directions for application, ventilation, curing, and return to use.
Sealer should bond with a prepared surface, not cover leftover cleaning solution or soil. Pay close attention to grout intersections, room edges, and textured areas where residue can remain. Before sealing, check the floor under good lighting for damp patches, remaining film, or missed joints.
Drying is a condition to confirm, not a fixed wait that suits every room. Tile, grout, air movement, indoor humidity, and the amount of water used for cleaning all affect drying time. In a Southern Vancouver Island home with limited airflow, ventilation can help moisture evaporate. A fan may circulate air, but the surface still needs to meet the product instructions before sealer is applied.
Plan when you’ll use the floor again before work starts. Keep household members and pets away from wet cleaning areas, and don’t place furniture on treated surfaces until the product’s curing conditions allow it. For a seasonal property, coordinate the work with occupancy and stable indoor temperatures during installation and curing. Planning helps prevent rushed application or early foot traffic.
Before work begins, confirm the cleaning method and drying requirements for the chosen product. Keep the floor protected from spills and tracked-in dirt as it dries. If it gets wet or soiled again, clean it and let it dry before sealing. A careful sequence creates suitable application conditions and avoids trapping residue beneath the protective layer.
How often should tile and grout be resealed?
In Victoria, Sidney, Sooke, and Mill Bay, there’s no single resealing schedule for every tiled floor. Some tile faces are dense and need no sealer, while absorbent grout joints may benefit from protection. Product directions, surface condition, and room use guide the decision. Treat the manufacturer’s stated service life as a reference, then assess the actual floor before scheduling another application.
Check the grout during regular cleaning. If spills soak in more readily, or joints are difficult to keep clean even after surface soil is removed, arrange an assessment. These changes warrant inspection, but don’t prove that sealer has worn away. Residue, staining, damaged grout, or an unsuitable cleaning method can also affect the appearance.
Keep a simple maintenance record for each tiled area. Note the product used, application date, rooms treated, and cleaning products used afterward. An entrance and a guest bathroom, for example, may receive very different levels of use. Separate notes help you compare wear without assuming the whole floor needs resealing at once.
- Inspect grout joints: Compare their appearance and response to everyday spills with earlier observations.
- Check product directions: Follow the sealer’s stated care guidance and reapplication instructions.
- Review the concern: Distinguish soil or residue from staining, etching, cracks, or missing grout.
- Plan by area: Assess busy entrances, kitchens, and lightly used rooms separately.
Traffic patterns matter. A frequently used entrance collects tracked-in grit and gets cleaned often, while a guest bathroom may see less activity. This affects how quickly grout looks worn and needs attention. Reviewing each area according to its use is more useful than automatically resealing every tiled room together.
Cleaning products and technique also affect maintenance. Abrasive tools can damage delicate finishes, while residue left in grout can make joints look dark even if the sealer remains. Use a method suited to the tile and grout, then observe the surface. Identify a persistent mark before treating it as a sign to reseal.
In Victoria, Sidney, Sooke, and Mill Bay, reseal only after confirming the material benefits from it and the existing surface is clean, sound, and dry. Sealer won’t repair cracked tile, failed waterproofing, or crumbling grout. If an inspection shows physical damage, address it first. Another layer won’t correct the underlying problem.
If grout remains difficult to maintain after suitable cleaning, arrange a professional assessment before choosing another sealer. A clear diagnosis helps determine whether cleaning, repair, or resealing is the right next step.
Sani-Tech Victoria: Carpet Steam Cleaning
Sani-Tech Victoria provides Carpet Steam Cleaning for rooms where tracked-in soil and everyday use have dulled the carpet. Professional cleaning is a useful next step after hard-floor care, especially in entrances and adjoining living areas where grit moves between surfaces. Area Rug Cleaning, Upholstery Cleaning, and Leather Cleaning are also available for furnishings that need specialized care.
Choose the service that matches the material and the cleaning concern. Carpet fibres, rugs, upholstery, and leather each need an appropriate approach to protect their appearance during cleaning. For professional care of carpets and furnishings, contact Sani-Tech Victoria.
Plan the next step for your floors
Planning tile sealing in the Highlands is an opportunity to protect suitable grout and tile with a process matched to the surface. Before arranging the work, decide which rooms need attention and how you’ll manage access while floors dry and cure. If there’s damage or a leak, address the underlying issue instead of relying on sealer to fix it.
For other surfaces in your home, Sani-Tech Victoria offers Carpet Steam Cleaning, Area Rug Cleaning, and Upholstery Cleaning. These services help care for carpets and furnishings as part of your broader property maintenance plans.
When you’re ready to discuss cleaning for your home, contact Sani-Tech Victoria. A considered next step can help you care for your floors and furnishings with confidence.
Frequently Asked Questions
What should be checked before tile, grout & stone cleaning and sealing in Highlands East?
Identify the tile and grout, note the finish, and look for cracks, loose pieces, persistent moisture, or colour changes. Check for film left by previous coatings or cleaning products that could affect treatment. A dull patch on stone, for example, may be etching rather than dirt. Photos of affected areas can help document concerns and distinguish cosmetic changes from visible physical damage.
What commonly causes this work to fail?
Results can suffer if the product doesn’t suit the tile, stone, or grout, or if cleaning residue remains. Applying sealer before the surface is dry can also conflict with product directions. Another common mistake is expecting a surface coating to stop leaks or repair cracks. Recurring moisture around a shower joint, for instance, needs its underlying cause addressed, not another layer of sealer.
What should I send for a useful quote?
Send clear photos of the full floor and close-ups of stained or damaged areas. Include the approximate area, property location, tile or stone type, grout type if known, and any previous cleaners or coatings. Mention access needs and when you’d like to use the floor again. Photos showing room edges can also reveal transitions, furniture, or nearby finishes that may affect planning.
Will sealing make my shower waterproof?
No. Sealer can improve stain resistance on suitable absorbent grout or tile, but it doesn’t replace the waterproofing behind a shower surface. It also can’t repair a leak, cracked tile, or failed joint. If moisture continues to appear outside the shower or behind adjoining finishes, investigate the source before treating the surface. Sealing alone won’t stop water entry.
What does tile sealing include in Highlands, Canada?
Tile sealing in Highlands East generally involves identifying and cleaning the surface, allowing it to dry, and applying a compatible sealer according to its directions. The process depends on whether the floor is glazed ceramic, porcelain, grout, or natural stone. Planning also accounts for ventilation, curing conditions, and safe access while the surface is treated.
How much does professional tile and grout sealing cost in Highlands?
The work depends on the surface material, grout type, area, condition, previous coatings, and access. Photos and location details help describe the project for an estimate, but no service price is stated here. For properties in Highlands East, Ontario, don’t assume a company serving Victoria, Sidney, Sooke, and Mill Bay provides service there.
Which types of tile and grout need sealing?
Sealing suits materials that benefit from reduced absorption, often including absorbent grout and some natural stone. Glazed ceramic and porcelain tile faces may be less absorbent, though their grout joints can have different needs. The finish matters too. Where appropriate, a small test area can help assess how a product interacts with the specific tile or stone.
How do you seal tile and grout step by step?
Follow an ordered process: identify the material and existing finish, remove soil and residue, let the surface dry, then apply a compatible sealer as directed. Protect nearby surfaces and restrict access during application and curing. Follow the product’s care instructions before returning furniture or normal foot traffic. Don’t seal damaged grout until the damaged area has been addressed.